About
Location :
Added by Maria Naz, at 12 August 2025
Opening Hours
- Monday 09:00 AM- 05:00 PM
- Tuesday 09:00 AM- 05:00 PM
- Wednesday 09:00 AM- 05:00 PM
- Thursday 09:00 AM- 05:00 PM
- Saturday 09:00 AM- 05:00 PM
- Sunday 09:00 AM- 05:00 PM
Products and Services
Embroidery Digitizing
This blog post from DigitEMB introduces embroidery digitizing as the art of transforming artwork, designs, or logos into digital stitch files that embroidery machines can read and reproduce. The process involves specialized software to meticulously map out each stitch, thread color, and technique to ensure the embroidered output mirrors the original design as closely as possible. It walks through key steps like preparing the artwork by simplifying complex details, choosing the right digitizing software, setting appropriate stitch types (satin, fill, running), selecting accurate thread colors, and conducting test stitches for fine-tuning. The guide highlights benefits such as consistency in reproductions, efficiency in bulk projects, and flexibility for easy modifications. It also offers valuable tips—like starting simple, using quality threads, and avoiding excessive density to prevent puckering—as well as common pitfalls, including ignoring fabric type and skipping test runs. Finally, it advises on choosing the right digitizing service based on experience, software compatibility, turnaround time, and support.
Types of Embroidery Digitizing for Machine Embroidery
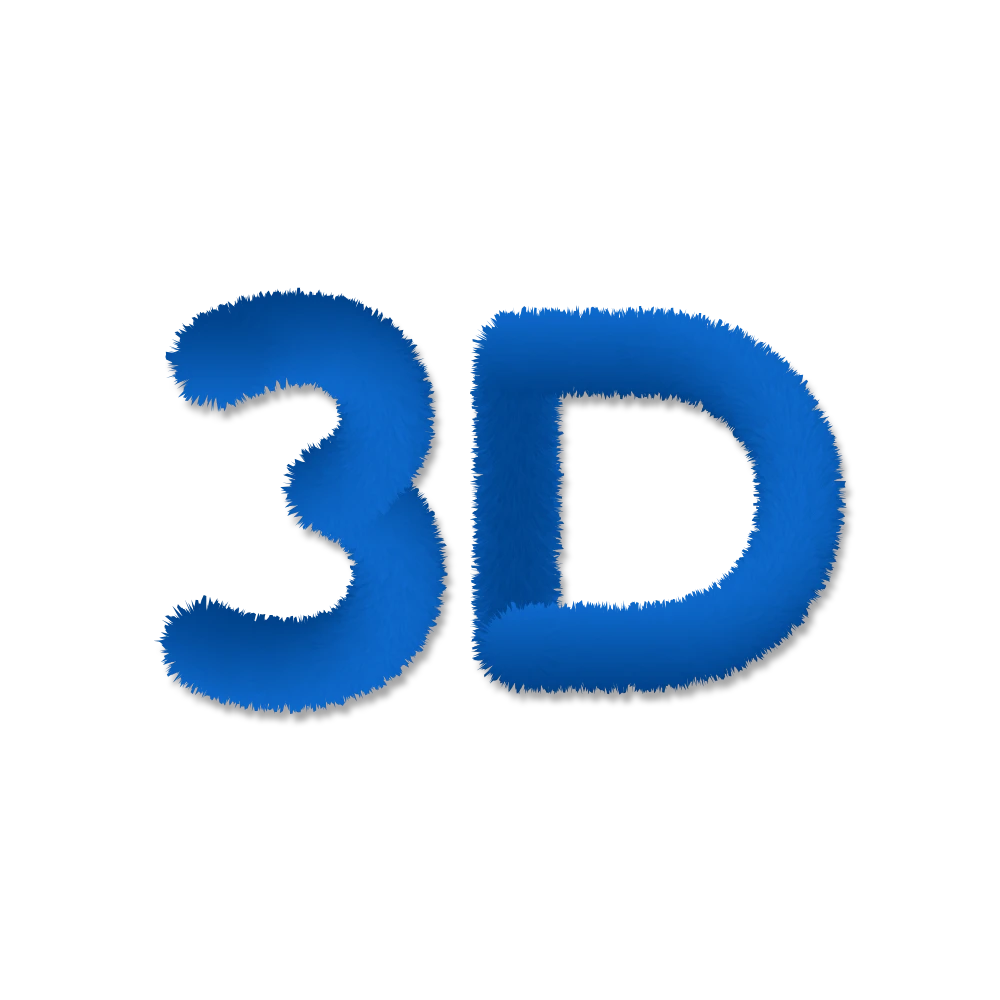
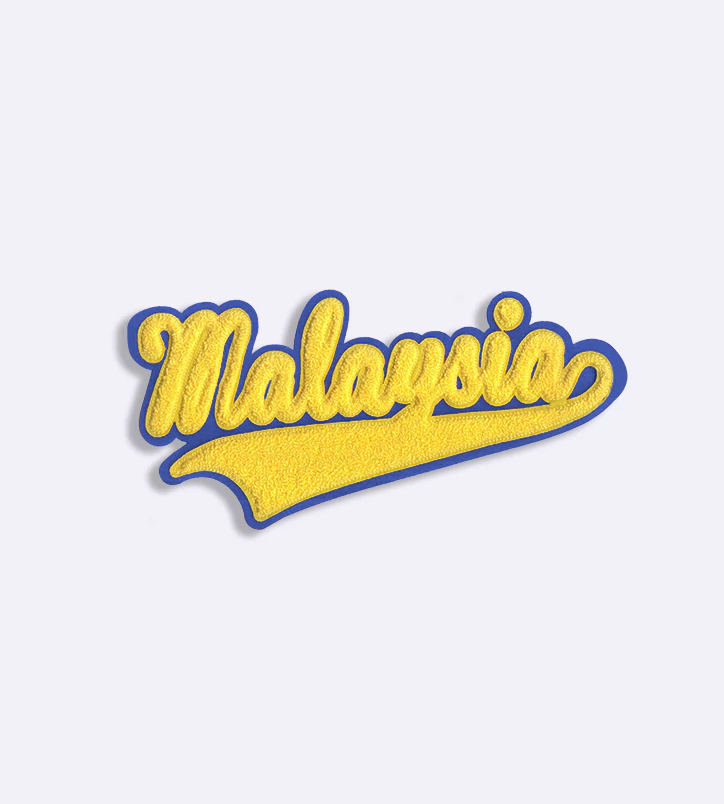
In this post, DigitEMB explores various styles of embroidery digitizing and how each suits different design needs and textures. It begins with flat embroidery digitizing, the most common type, ideal for applying onto flat materials like t-shirts, hats, and bags, offering precise detail and efficiency. Appliqué digitizing integrates fabric pieces stitched onto a base, adding texture and a three-dimensional look—great for apparel or home decor. 3D puff digitizing builds up raised areas using foam beneath stitches to give designs extra dimension, popular for caps and logos that need standout effect. Photo/image digitizing converts detailed photographs into embroiderable files, translating colo.
Frequently Asked Questions (FAQ)
- What is embroidery digitizing??
It’s the process of converting artwork or logos into stitch files that embroidery machines can read and sew. - Which file formats do you provide??
We deliver in popular formats like DST, PES, JEF, EXP, and more, compatible with most embroidery machines. - How long does digitizing take??
Most designs are ready within 12–24 hours, with rush services available for urgent orders.Can you digitize small text or detailed designs? - Can you digitize small text or detailed designs??
Yes, we specialize in fine details and adjust settings to keep text and lines clear on fabric. - Do you offer edits if needed??
Absolutely — we provide free minor edits until your design stitches out perfectly.
Gallery
Reviews
No reviews yet. Be the first to add a review.